Chocolate Chip Cookies
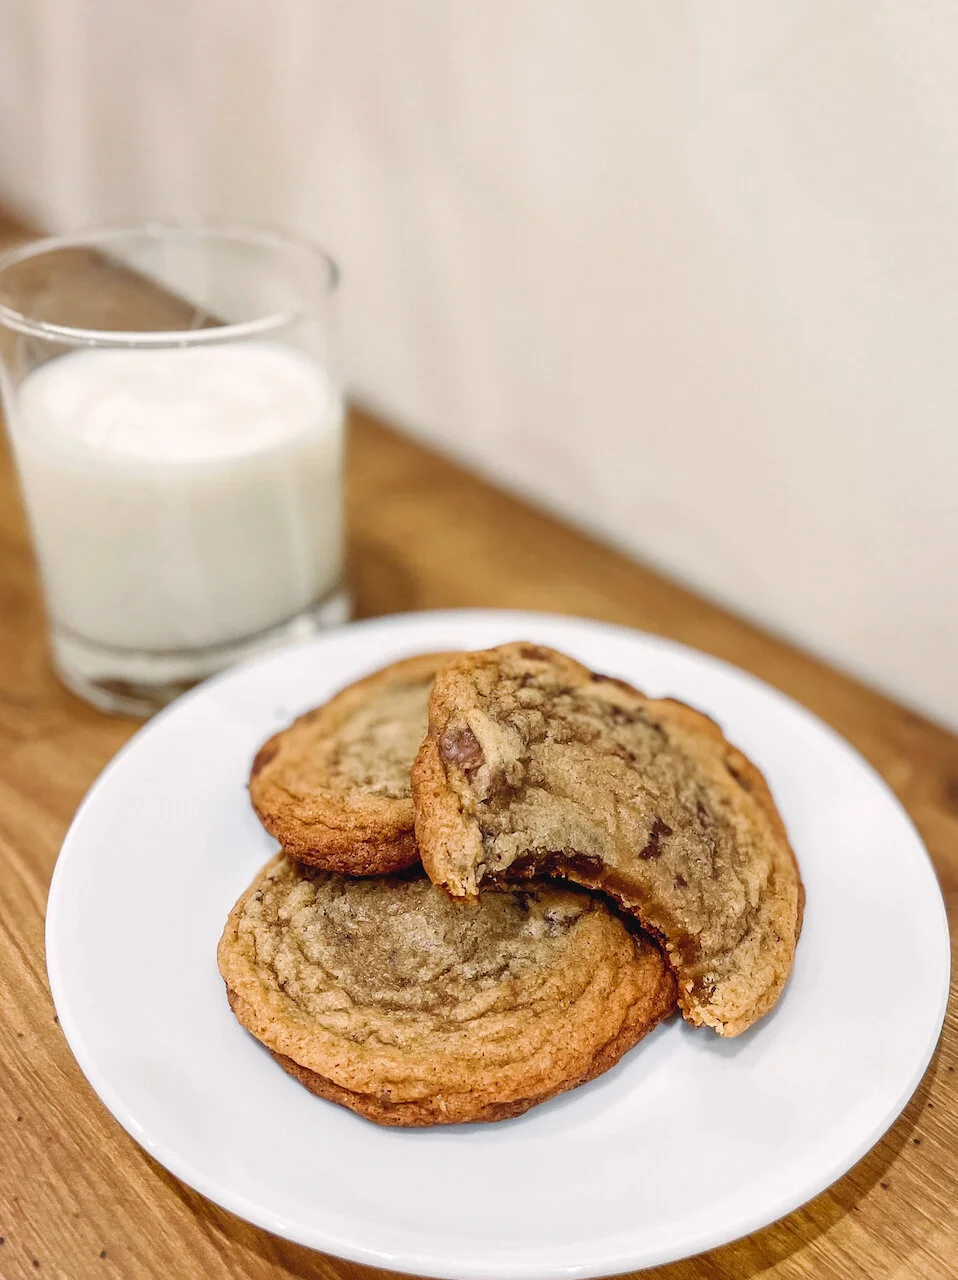
The original, the one and only, the perfect pairing for a glass of milk… the chocolate chip cookie. Are there a million recipes out there for everyone’s variation under the sun? Sure, so why not add one more to the pile, who knows maybe this will end up being your favorite like it is mine.
I have tried a LOT of different chocolate chip recipes - trying to perfect that delicate balance of crispiness, chewiness, softness, & ooey gooey goodness (the four horseman of the cookie apocalypse - cookiealypse? I think I’ve lost the plot here… ANYWAY). Throughout my experimentations there are a few things I’ve found that have definitely helped achieve this balance and that has ultimately resulted in the recipe below.
I also have a few tips on how to make this process easier and leave you with better, longer lasting cookies.
Soft Cookies: store in a container with a slice of bread. This is the coolest weird science trick, and it absolutely works - the cookies absorb the moisture from the bread and stay soft while the bread slowly turns into a rock.
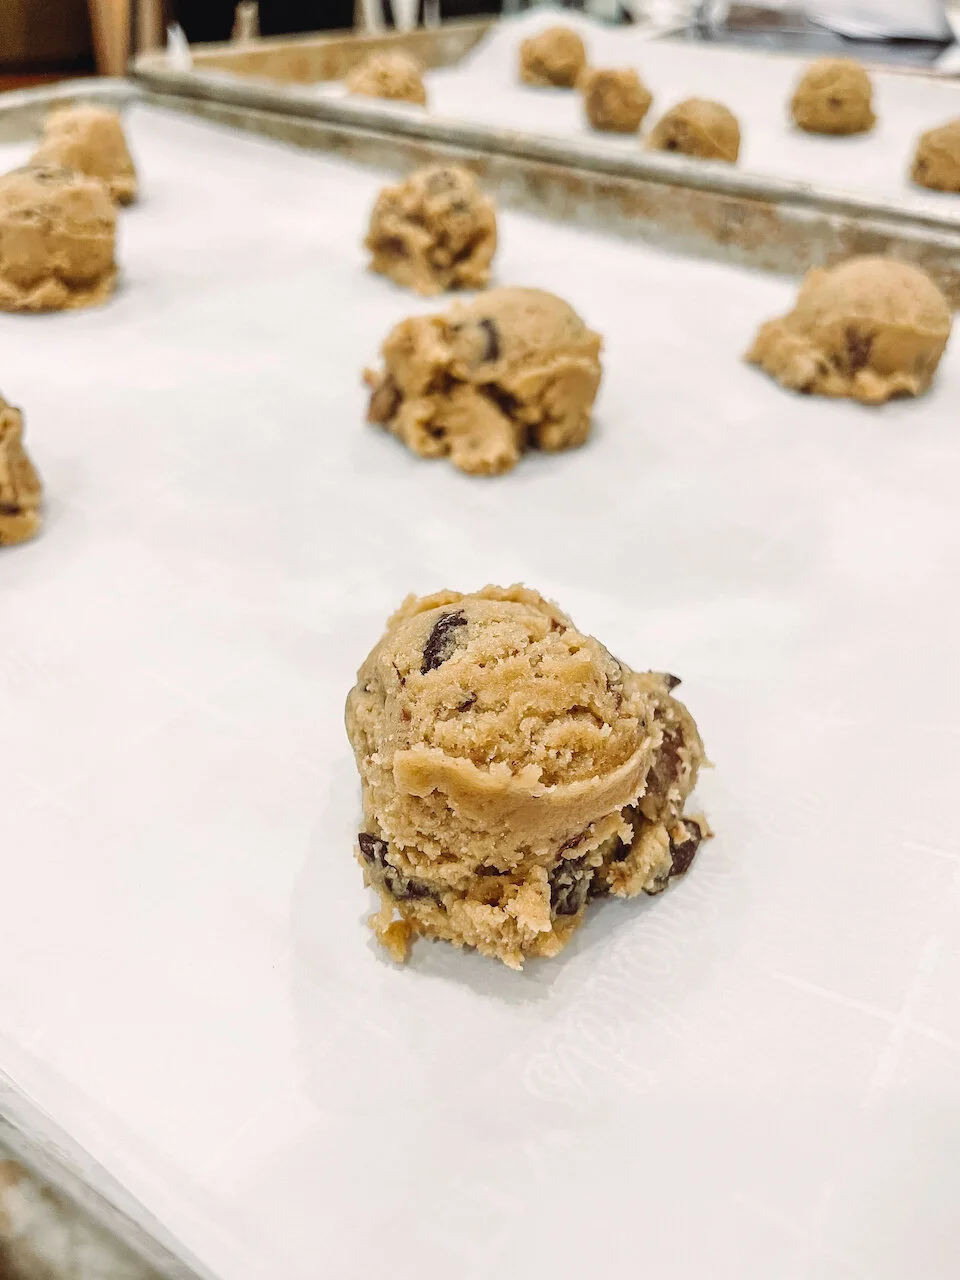
Cookie Scoop - best invention ever, a total time and sanity saver. You’ll see in the video that this makes the scooping/placing on tray process distinctly faster and easier.
Chill - don’t skip the chill step, in the instructions below. It genuinely does make a difference both in texture and flavor.
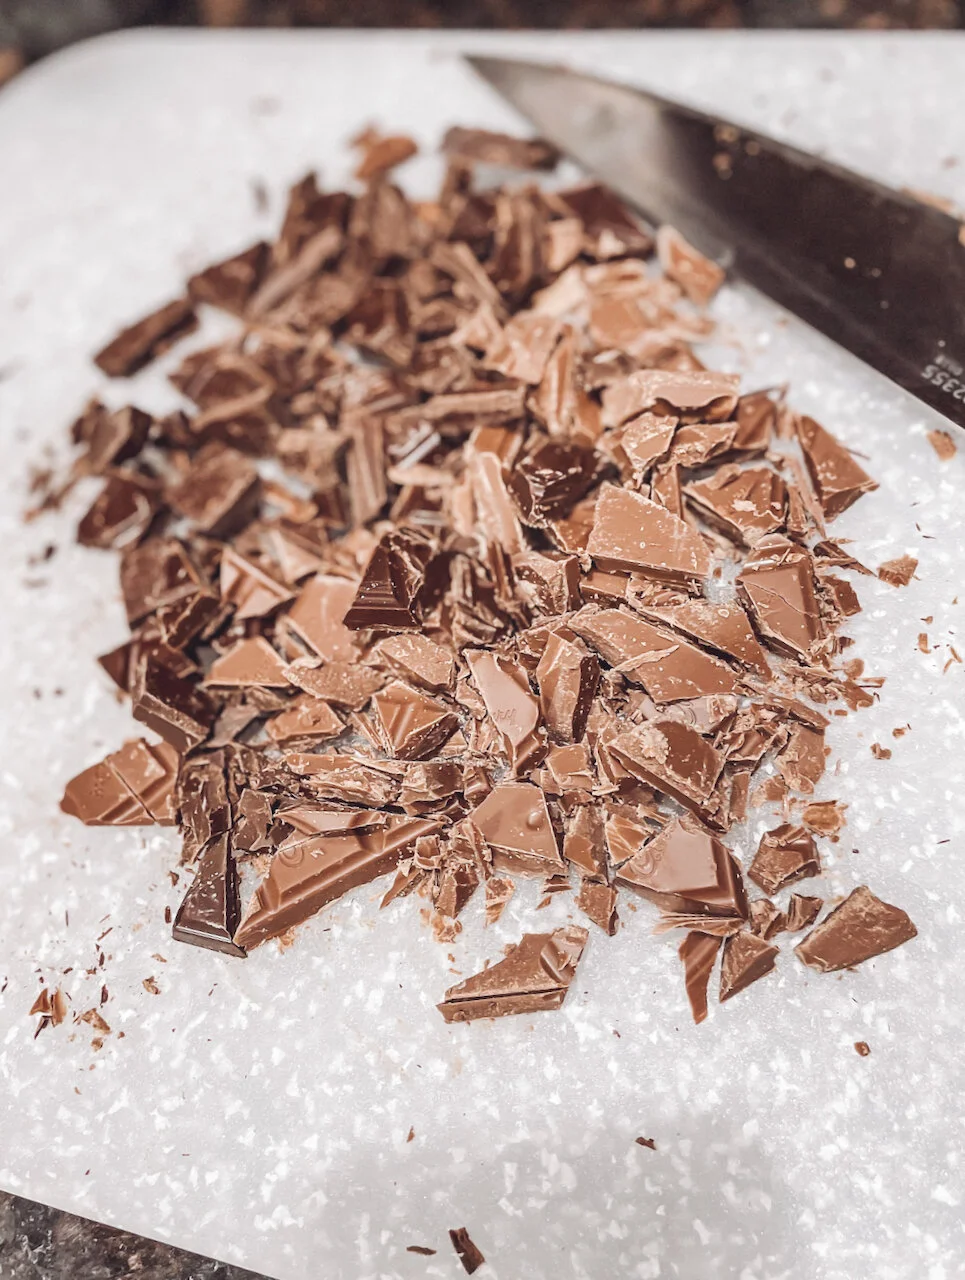
Chocolate - using a higher quality mix of dark & milk chocolate, that you can rough chop to your desired size makes for slightly fancier and (imo) better cookies, but you can of course substitute for your favorite chocolate chips.
Timing - when it comes to baking keep a closer eye on the first batch, then adjust the time accordingly for the subsequent ones. With smaller cookies a minute one way or the other can make a difference.
Freeze - cookies can be frozen! If you can’t eat a full batch of cookies in a few days, put some in a freezer bag and enjoy them later. It is best to let them defrost before trying to eat them to avoid a trip to the dentist.
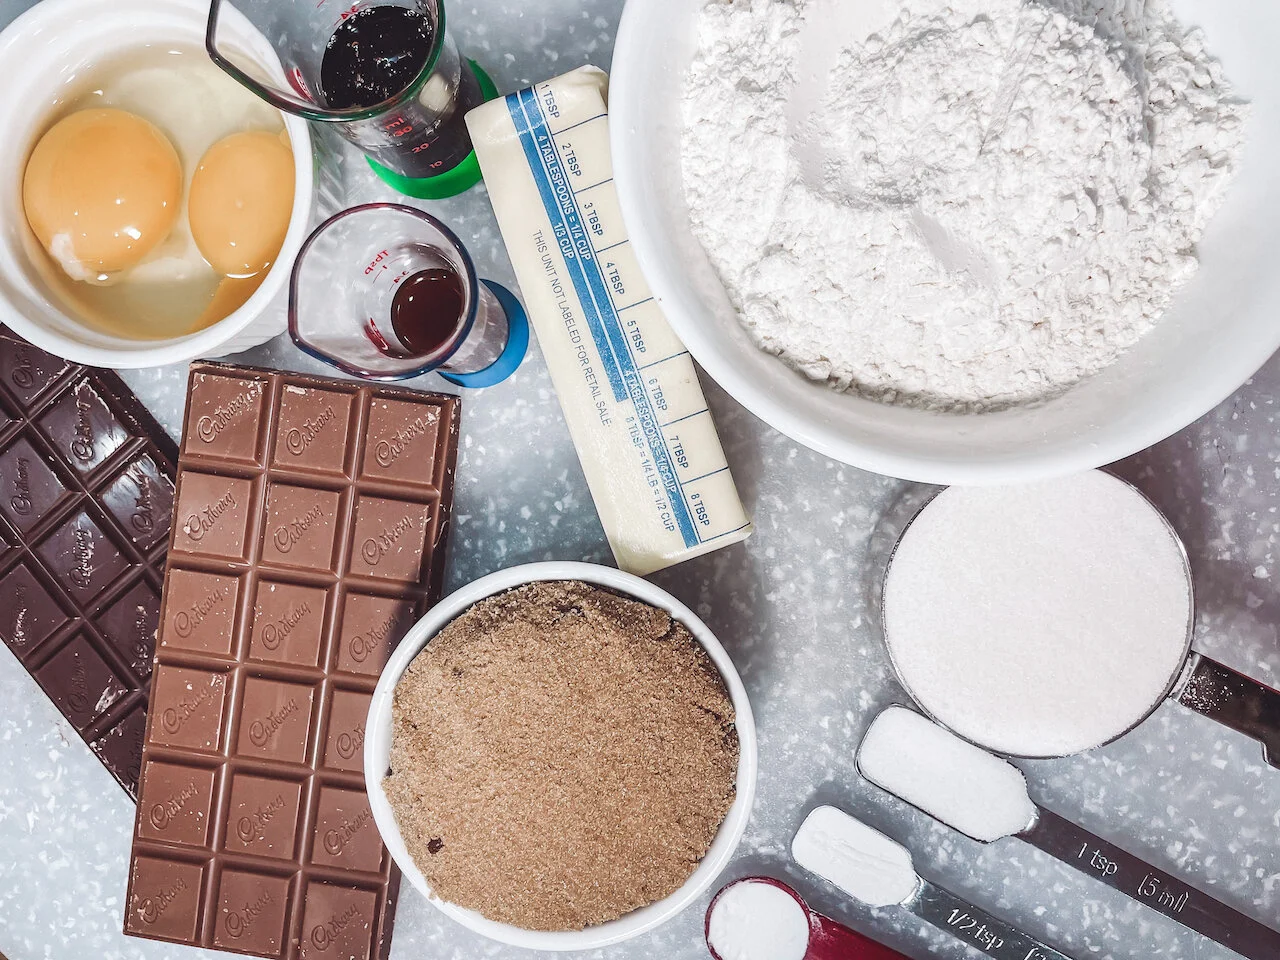
1/2 cup white sugar
3/4 cup brown sugar (packed)
1/2 cup unsalted butter (room temperature)
1/2 tsp baking soda
1/2 tsp baking powder
1 tsp salt
1 tbsp honey
2 tsp vanilla extract
1 egg
1 egg yolk
1.5 cups flour
8 oz. chocolate (half dark & half milk - or adjust based on your preference)
Prep Time: 1 hr
Cook Time: 10 min
Yield: ~ 24 cookies
Instructions
Make sure butter is at room temperature - soft, not melted. Mix with the sugar until a smooth creamy mixture forms.
Mix in salt, baking soda, baking powder, vanilla and honey.
Beat in egg and egg yolk.
Slowly add flour to the dough, mixing after each addition.
Chop up chocolate into desired size pieces, and stir into the dough so they are evenly distributed throughout.
Chill dough for 30 min-1hr in the refrigerator
Preheat oven to 350°F
Prepare baking trays with parchment paper or silicone mat.
Scoop small balls of dough (a little bigger than a golf ball) onto the trays. Make sure the balls of dough have a couple of inches in between, as the cookies will spread. (I usually fit about 8-9 per tray)
Bake for about 10 min (dependent on the size of your cookies)
After removing from the oven, leave on the tray for a few minutes before moving to a cooling rack to completely cool.
Enjoy with a glass of milk of your choice!